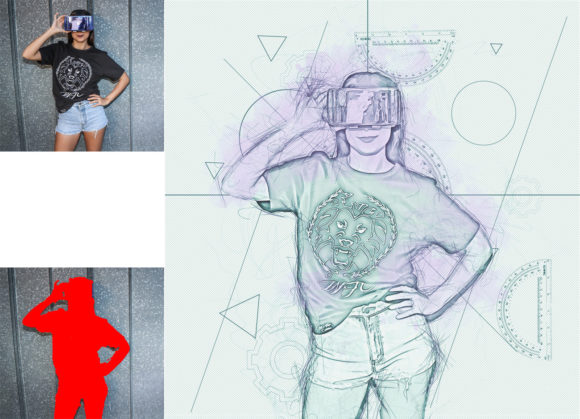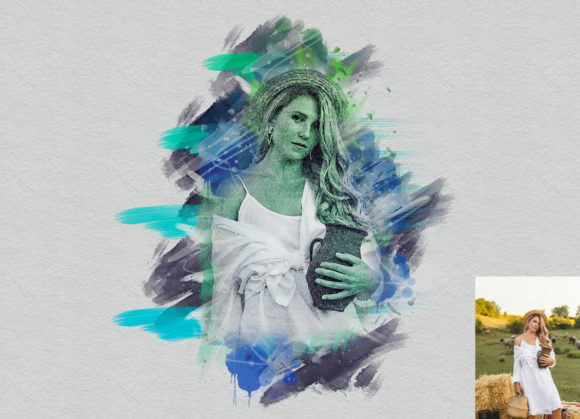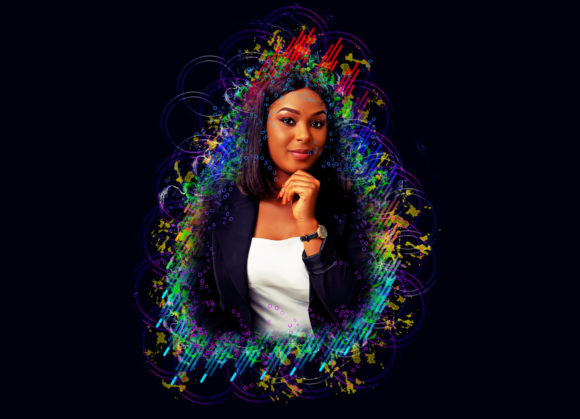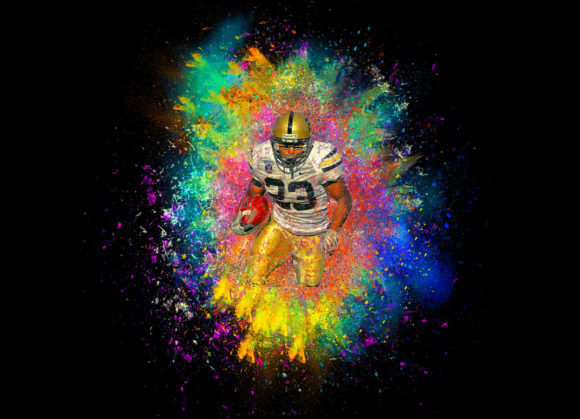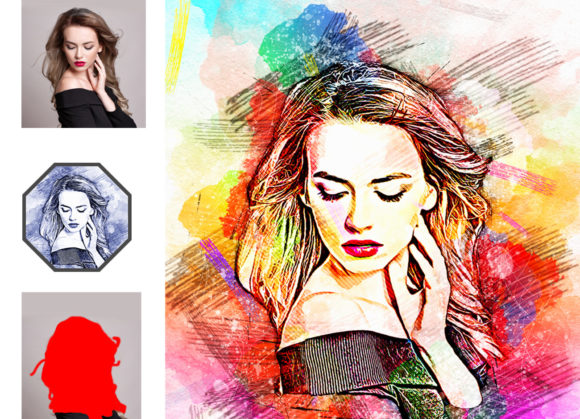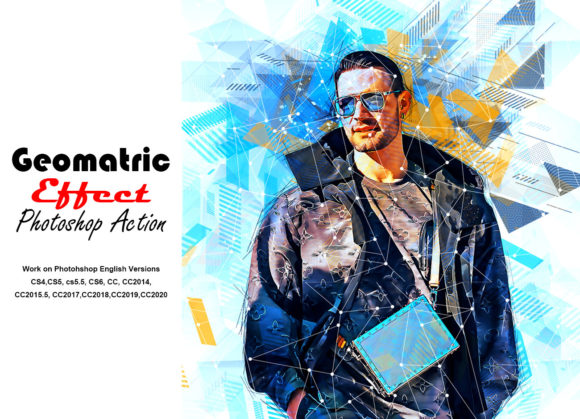
Geometric Effect Photoshop Action
In the fast-paced world of digital marketing and visual communication, capturing attention within seconds is paramount. Designers constantly seek tools that blend modern aesthetics with efficient workflows, allowing them to produce high-impact visuals without sacrificing quality. The Geometric Effect Photoshop Action emerges as a powerful solution for creators looking to transform standard photography into striking, abstract compositions. By leveraging sharp lines, angular shapes, and dynamic color palettes, this tool helps elevate brand identity and creates a memorable visual hierarchy that resonates with contemporary audiences.
Elevating Visual Design with Precision
Modern graphic design thrives on structure and clarity. Geometric patterns are not just decorative; they communicate stability, innovation, and professionalism. When applied correctly, these elements can guide the viewer’s eye through a composition, enhancing the overall user experience in web design, UI layouts, and editorial spreads. This action is designed to transform your photos into a real geometric look, offering a non-destructive workflow that preserves the integrity of your original image while adding a layer of sophisticated complexity.
One of the standout features of this asset is its ease of customization. Unlike rigid filters that apply a one-size-fits-all approach, this action provides ten different color options accessible via the layers panel. This flexibility allows designers to align the output with specific brand guidelines or current design trends. Whether you are working on a sleek tech startup landing page or a vibrant social media campaign, the ability to tweak brush colors and geometric tones ensures that the final result feels intentional and cohesive.
Practical Applications Across Industries
The versatility of geometric effects makes them suitable for a wide range of creative projects. Here is how professionals can integrate this tool into their design workflow:
- Branding and Logo Design: Use geometric overlays to create dynamic backgrounds for logo presentations, adding depth and context to brand identity systems.
- Social Media Graphics: Stand out in crowded feeds by transforming product shots into artistic, abstract visuals that stop the scroll.
- Web and UI Design: Enhance hero sections or feature blocks with textured, geometric imagery that supports modern, clean interface designs.
- Packaging and Print Design: Add a tactile, premium feel to physical products by incorporating complex geometric patterns derived from high-resolution photography.
- Advertising Campaigns: Create consistent visual themes across multiple platforms, ensuring that digital ads and print materials share a unified aesthetic language.
Optimizing Your Workflow for Best Results
To achieve professional-grade results, understanding the technical requirements and setup process is essential. This action has been rigorously tested and works seamlessly on Photoshop English versions, including CC2020, as well as earlier versions like CS4, CS5, CS6, and CC2015.5 through CC2018. Compatibility is key for teams working across different software iterations, ensuring that the design workflow remains smooth and uninterrupted.
For optimal performance, it is recommended to use images with a resolution of at least 2000x3000 pixels. High-quality source material ensures that the geometric details remain crisp and free from pixelation, which is crucial for large-format prints or high-density digital displays. The package includes the ATN file, custom brushes, patterns, a PDF read-me file, and a help file, providing everything needed to get started immediately.
Step-by-Step Implementation
Executing the effect is straightforward, but precision matters. Follow these steps to ensure a non-destructive and editable result:
- Open your chosen high-resolution photo in Photoshop.
- Create a new layer and rename it exactly as “brush” in lowercase. This step is critical for the action to recognize the mask area.
- Select a soft brush and paint over the areas of the image where you want the geometric effect to appear. This allows for targeted application rather than a blanket overlay.
- Close the eye icon on the “brush” layer to hide it, then select the background layer.
- Click the play button on the action panel. The script will process the image, applying the geometric transformation based on your brush strokes.
Once the action completes, you can explore the ten color variations by toggling the visibility of the adjustment layers. This non-destructive approach means you can experiment with different moods and tones without altering the original pixel data, a best practice in professional graphic design.
Ultimately, the value of any design asset lies in its ability to enhance communication. By integrating the Geometric Effect Photoshop Action into your toolkit, you gain the ability to produce visually compelling content that aligns with modern design standards. Whether you are refining a corporate presentation, designing merchandise, or crafting digital products, thoughtful use of geometric elements can significantly improve both aesthetics and engagement. Embrace these tools to streamline your creative process and deliver polished, impactful designs that stand the test of time.